Add Destination
Before adding a transaction you will need to create at least one delivery location (destination).
Choose the Master files menu option from the left hand menu, then click Destinations to access the destination register.
💡 The Destinations menu option may have been renamed in your version of Payloader, for example it could be called:
Customers,DeliveriesorTips.
On mobile, first click the hamburger menu icon ![]() in the top left of your screen then follow the instructions above.
in the top left of your screen then follow the instructions above.
Click the large plus icon ➕ on the right hand side of the destination register to display the Add destination dialog.
Adding a new destination
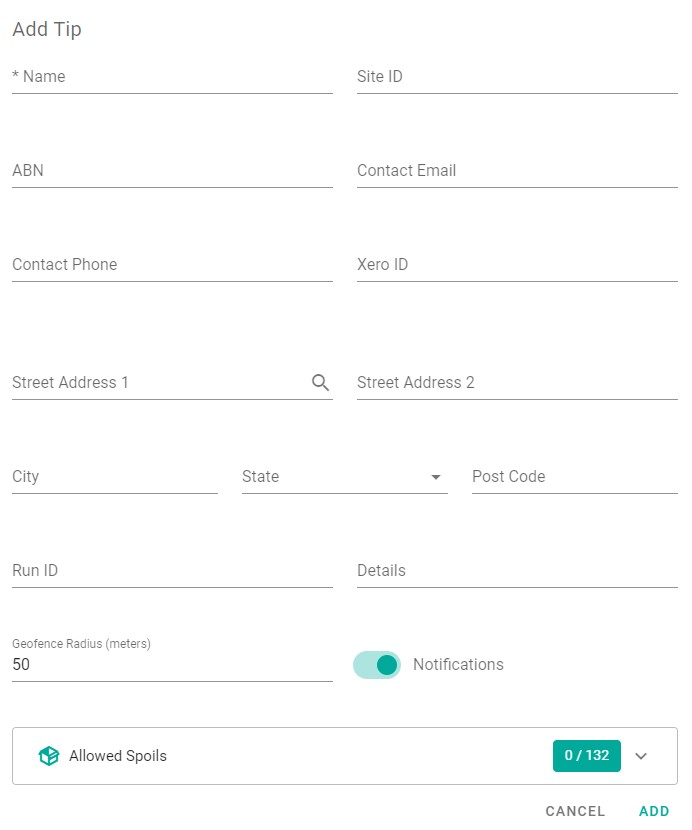
Enter the destination details:-
- Name
- Site ID
- ABN
- Email address
- Contact phone number
- Xero ID: Customer ID from Xero accounting
- Address details
- Run number: Used to populate schedules and allocations
- Details / notes
- Geo-fence radius: Used for automated timesheets
- Enabled customer delivery notifications
- Allowed Items: Limit items allowed to be delivered to this location
Add destination screenshot